Instructions for Sunshine Braided
Rug Kit:
This kit is made of pieces of sock scrap from the Solmate
sock factory. The socks have been cut open, serged together, and
then cut into three strips.The ends have been sewn together so
you are ready to begin braiding. Spread the strips from the
three balls out on the table in front of you and bring the right
strip over the middle strip and then the left strip over the
middle strip, repeating until you have to stop and untangle the
balls of sock strips. A big rubber band or clothes pins help
keep the balls under control while you are braiding. Once you
have braided about 10 feet of the sock strips, you can begin to
assemble the rug.
Use a large, sharp needle and a double strand of the string
included in the kit. Begin coiling the braid in a circle for a
round rug.
If you want an oval rug, start with a 10" straight
piece and coil the braid around it. Starting with the
machine-sewn join, sew the braid coils together. Pull your
thread up snug, but be careful not to stretch the braids
so that they cause the rug to bunch up and not lay flat when
you're done. Check periodically by laying the piece-in-progress
on the floor. When you need to ad a new piece of string,
tie the ends together with an overhand knot, bury the knot in
the braid, and continue sewing.
TO WEAVE ON A LOOM: Cut the sewn end to separate the three
balls and wind the material on a large rug shuttle. Taper the
end of the strip when you begin to weave and when you need
to add the next shuttle of material. The material included in
this kit should be enough to make a 30 by 36-inch braided rug or
a 24- by 48-inch woven woven rug.
|
Our
Potholder Rug Kit includes about 3.25 pounds of
jumbo sock loops, enough to make about 20
potholders. Using the loops provided in your
kit, make 12, 15, or 20 potholders. Lay them out
on the
floor until you have a pleasing arrangement. You
can design the rug before
you begin weaving the potholders, or just make a
random rug with the potholders you’ve already
made.
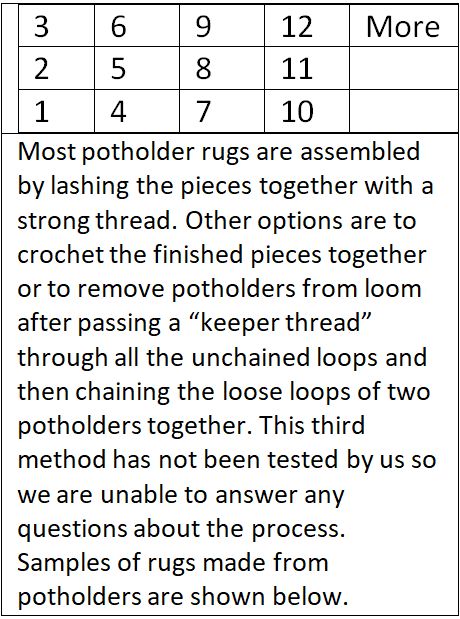
To
sew the potholders together, use a doubled
strand of the cotton/poly rug warp provided and
a large tapestry needle. Start with two
potholders (1 & 2 on the chart below) and
stitch through the top loops of one piece and
then the loops of the other, back and forth,
until you have the two connected. Then sew 2 to
3 to complete your first column. Select the next
pair (4 & 5) and attach them in the same
way, then the next (5 & 6). After the
first two columns have been joined, sew the two
sets together vertically. You now have a
rectangle.
Now make another panel the same way (7 & 8,
8 & 9) and (10 & 11, 11 & 12) and
then connect the two columns vertically. At this
point, you should have two rectangles of 6
pieces and can now sew those two panels together
for the finished rug.
If
your rug is to be wider than 3 potholders,
continue until there are enough connected for
the width of the rug you are making.
The
rug can grow as large as you want and the
assembly process is still the same. If you
decide to make it larger after you finish the
initial 12 or 15 pieces, not a problem. Just add
on to it.
Have
fun!
|
 |
|
|
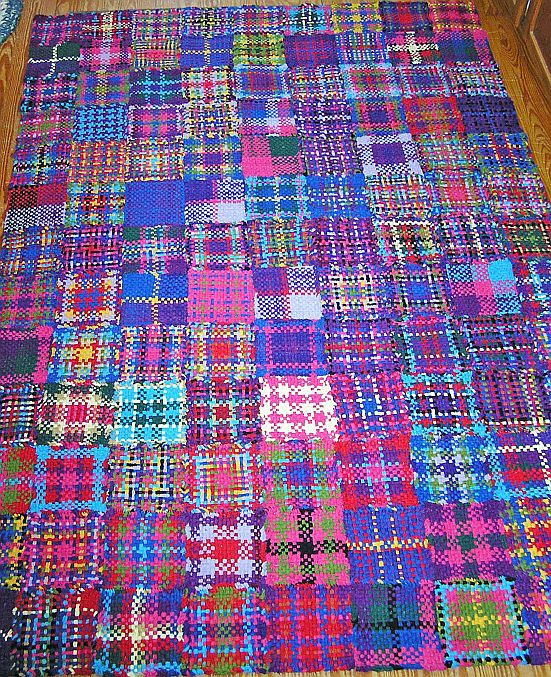
Kitchen rug that
one of our customers made for his mother
|
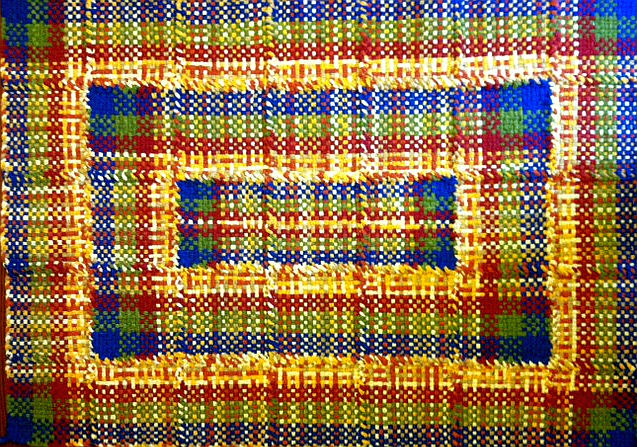
A large blanket made
from more than 100 potholders
|
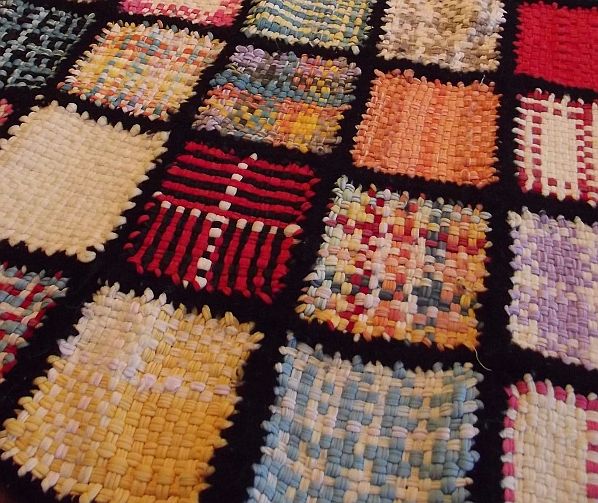
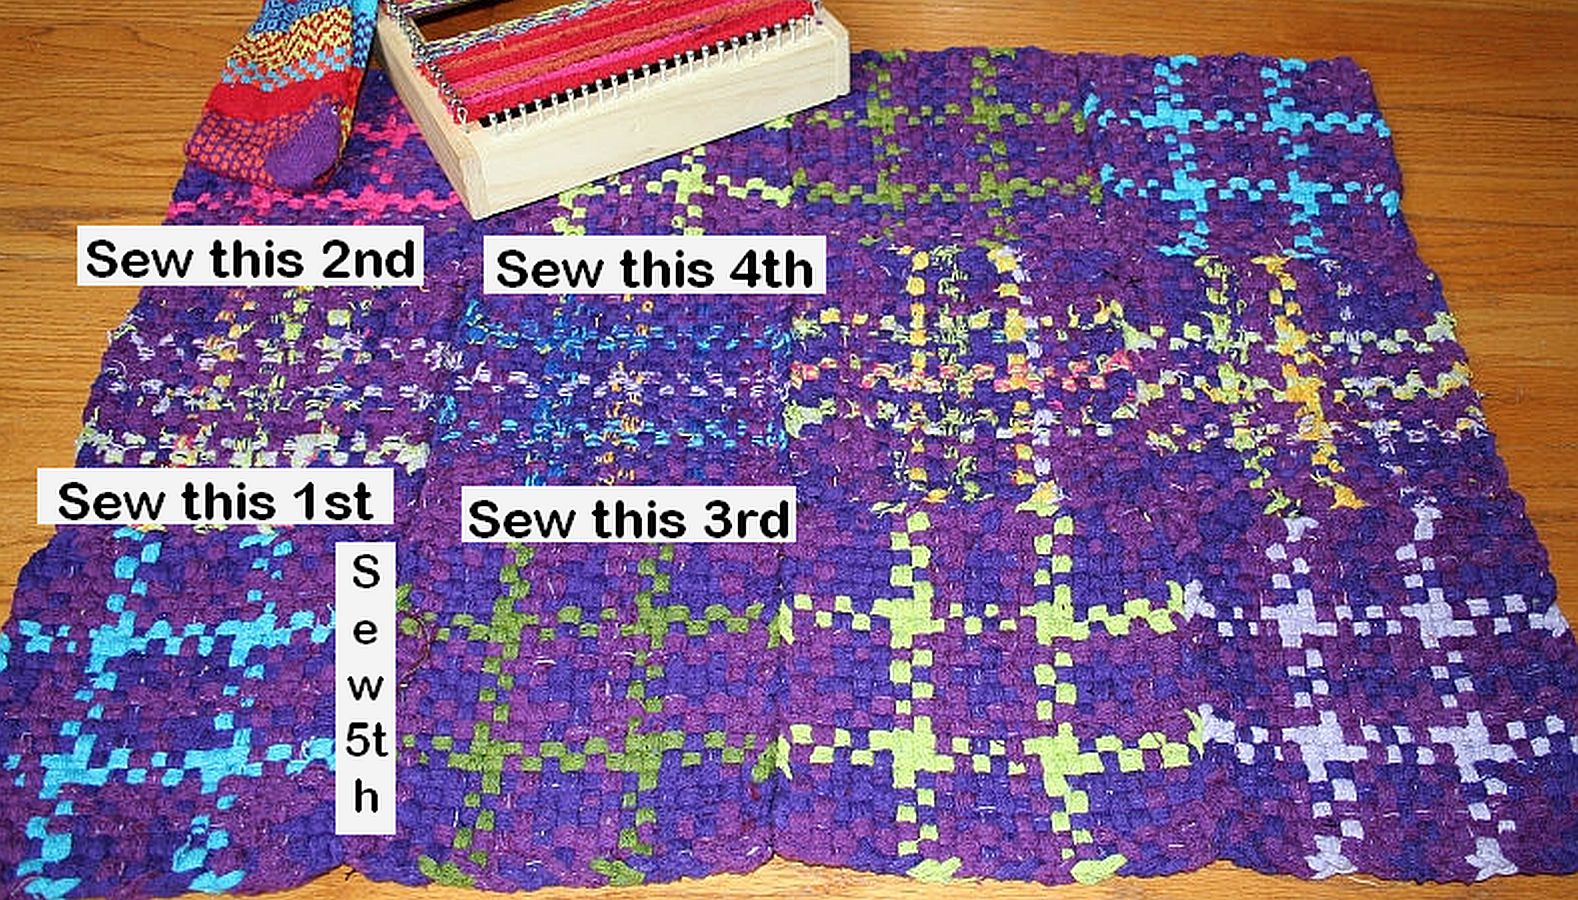
Pieces crocheted together with colored yarn borders.
|
|
|
|
